I can't believe an entire month has gone by without me posting! I have been super busy quilting and now it's time to show you what I've up to.
Before I show you quilts, I have to post about the absolutely, fabulous design wall that my husband made for me. I already have a great design wall in my quilt room, but it is always covered with a long term project and many times I have to take down the blocks to put up another project for a while.
One day while my friend Judy was visiting, she said that she had been thinking about a design wall that would be hinged on the side so that you could swing it away from the wall and put blocks on both sides. I have the perfect spot in my quilt room for this, so I mentioned the idea to my husband. He spent some time mulling the idea around in his head, deciding how to make it light enough to swing well and not pull out of the wall. He decided to make a "frame" from PVC pipe and put insulation board on the front and back. I could then cover that with batting and flannel. Here are the pictures of how the project progressed from start to finish....
Here is the frame-this is a dry fit without the cross bars. The two T-joints that are sticking out on the left are where the design wall will attach to the wall.
This is a close up of the T-joint used for the hinge.
Next step was to glue all the PVC pipe together and then cut the insulation board to size. He used Duck Tape to join the boards.
Then he glued the insulation board to the PVC frame. He glued large pieces on each side and strips around the edges to make it smooth.
This is the wall mount part of the hinge. He used a block of wood, drilled it out and fitted a dowel in it for the T-joint to fit over. That was affixed to the wall with a board-screwed into joists for support.
Here is my design wall hanging on the wall. Now I just need to pretty it up and make it usable.
First I covered it in batting. I bought warm and natural at Jo-Ann's on the roll. It was the perfect width. I used hot glue on the sides and bottom to hold the batting in place once I had it stretched and smooth.
Lastly, I covered it with white flannel-because it was 45" wide I had to buy twice the length I needed and seamed it. Again, I used hot glue to keep it in place, but I only used the hot glue on the edges, top, and bottom. I did not use any glue on the surface of the wall.
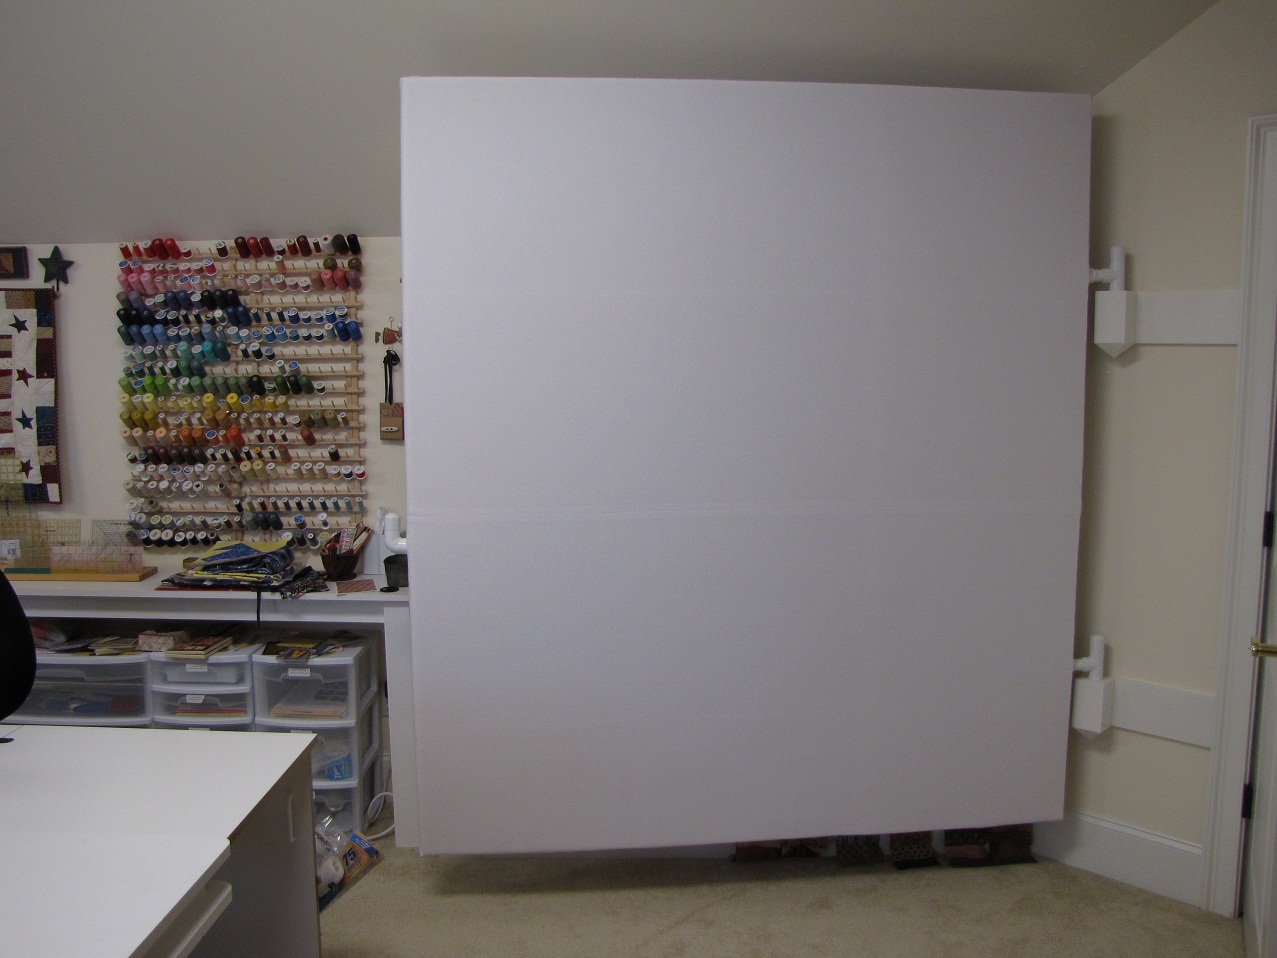
Here is the front of my hinged design wall!
And here it is, swung open. You can see that I have quilt blocks on the back too-and on my original fixed design wall. Now I can work on several projects at once.
I hope you are inspired by my new design wall to find a place for one in your own quilt room. Happy stitching.............


.JPG)
.JPG)


.JPG)
.JPG)


.JPEG)